
As part of the RENK group, Horstman manufactures suspension systems for armoured vehicles. It also produces safety-critical components for the sub-sea and aerospace industries. The company has now advanced its quality control procedures significantly by installing new CMMs at its factories in Bath, UK and Sterling Heights, USA. Built by LK Metrology, the new CMMs were supplied with compact tactile scanning probe technology to capture data on the size and shape of components more accurately and faster.
 The factory in Bath was an early adopter of CMMs in the 1960s. Horstman has had a succession of different CMM models over the years, most recently three machines of small, medium and large capacity from a different supplier. The new LK AlteraM 25.15.12 bridge CMM is equipped with traditional touch-trigger probing and an advanced tactile scanning probe, replacing the smallest of the three earlier machines.
Trevor Prynne, Business Development Director at Horstman commented: “The contact scanning capability of the new LK CMMs acquires many hundreds of surface points every second, enabling interrogation of form as well as size and position, including bores 400mm deep. All three of our locations, including the Canadian site in Ontario, have ISO: 9001 accreditation with the UK site also having AS:9100 Rev D.”
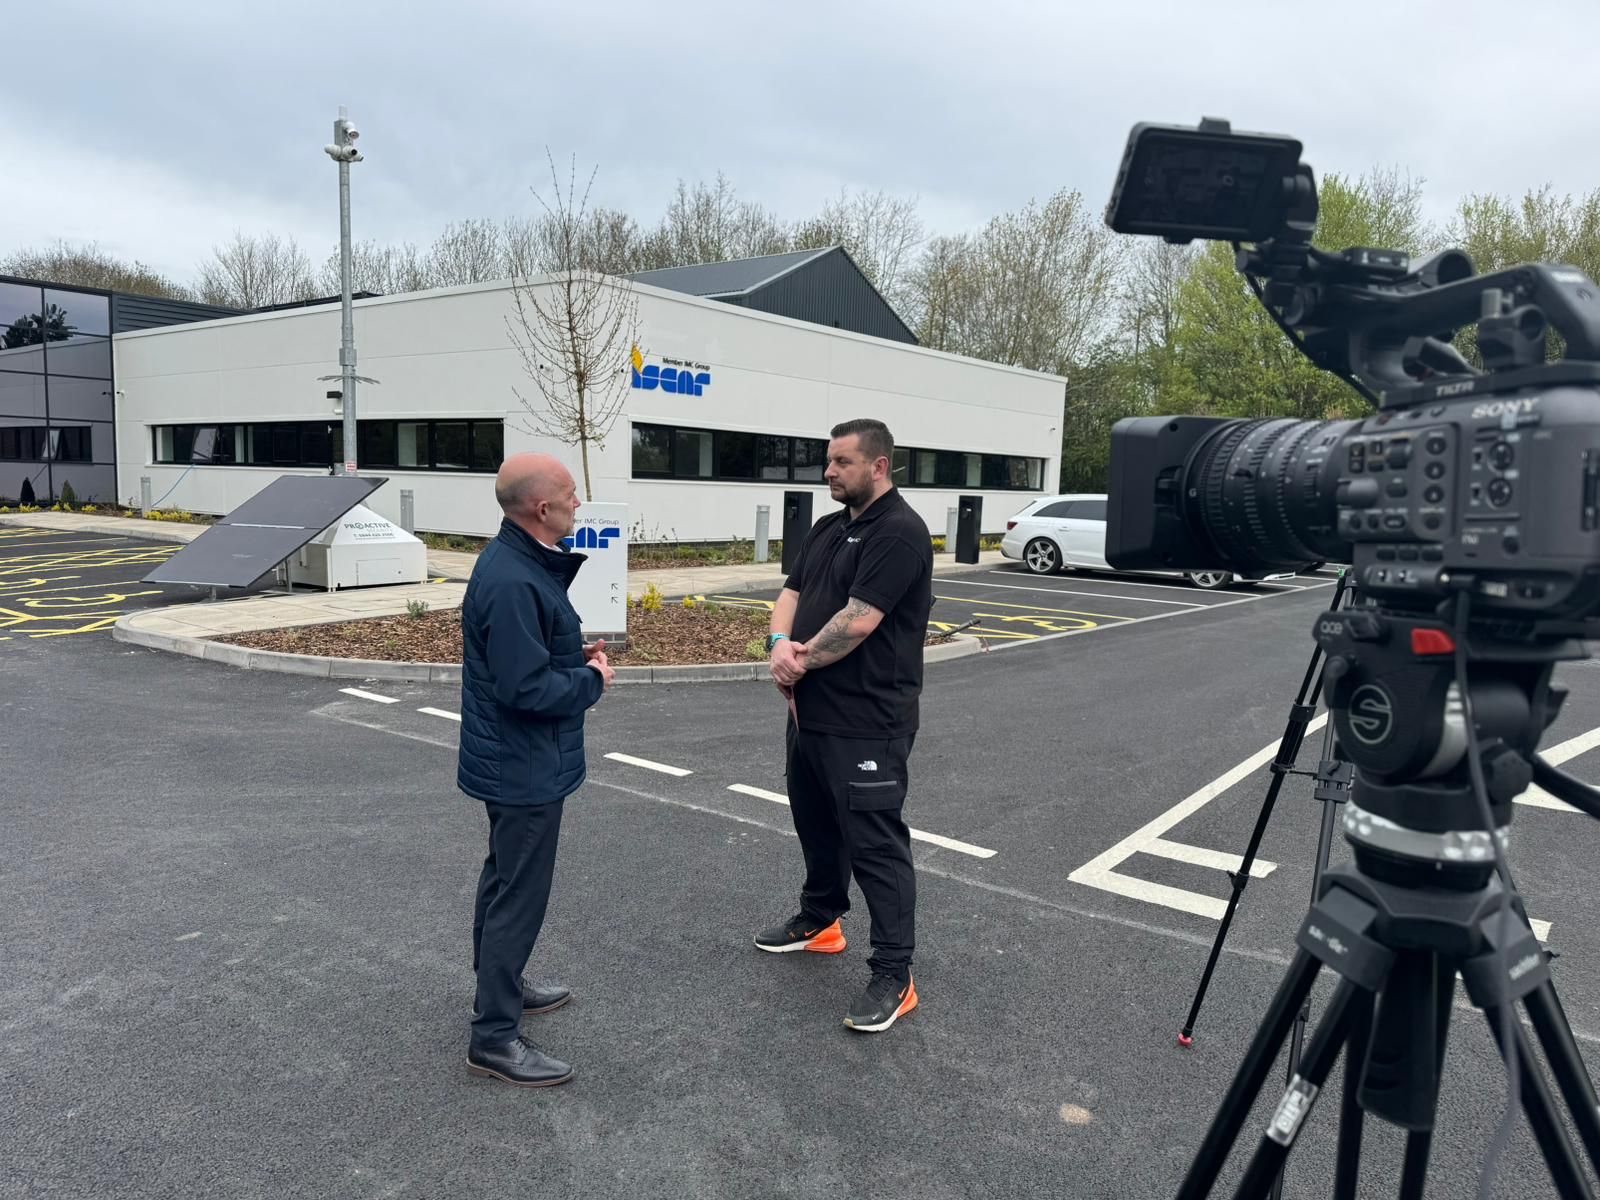
Stephen Ellis, Quality Manager at the Bath factory added: “As we are involved in the supply of safety-critical, defence-related products, we needed a second large-capacity measuring machine that could inspect every size of component to provide capacity if one CMM should break down. We manufacture some components for our US factory and they produce others for us, so it was expedient to duplicate the metrology facility in our Sterling Heights plant. Crucially, LK can support that installation as well, as it has a subsidiary in New Hudson, just 40 miles away.”
LK’s CAMIO 2021 software for programming and reporting has been supplied to the two factories.
Within the Horstman group, new designs are being introduced with increasing regularity and to ever-tighter tolerances for hydropneumatic suspensions, electronic and electro-hydraulic active vehicle ride management systems. That is why the metrology departments were often under pressure and wanted to move quality control technology forward in terms of data acquisition and the accuracy of the data collected.
Component sizes are up to 1.15 metres in length by 0.75 metres in diameter. Materials include steel, titanium and aluminium and in addition to dimensions, shapes are captured rapidly and results are compared with the corresponding CAD model to ascertain fit and finish. Typical measurement cycle times are between 10 minutes and one hour. Features with a total tolerance down to 7 microns need to be inspected and some parts have reflective surfaces, which is why the manufacturer has not opted for the rapid, high-density point cloud acquisition of laser scanning.
The SP25M scanning probe comprises two sensors in a single housing. Users can switch between a choice of five scanning modules with styli lengths from 20mm to 400mm as well as modules compatible with Renishaw’s TP20 range of touch-trigger probes. This capability enables scanning and touch-trigger probing in a single probe system. When using the scanning probe, the system can measure up to 1,000 points per second to deliver a very precise statement about deviations in profile and form that can affect product fit and function.


