🎧 – Automated CT system works unattended
Based near Zürich, Dentalpoint has launched an aesthetic alternative to the conventional titanium dental implant. After intensive research, the company invented a biocompatible metal-free alternative made from ceramic. The ZERAMEX zirconium dioxide, two-part implant system includes small, complex features such as internal threads that must undergo extensive inspection to dimensional specifications as well as product traceability.
Quality control was proving time-consuming on a CMM. So, the company invested in an alternative X-ray computer tomography (CT) system from Nikon Metrology with an inbuilt robotic loading system. The benefits have been enormous, not only in the speed of operation and automation for supporting volume production, but right back to the R&D phase of new products.
Dentalpoint is considered to have a three to four-year lead in the development of ceramic implants. It manufactures ZERAMEX implants and ceramic parts in its production centre in Zürich using special technology.
Benjamin Bernet, the firm’s R&D Project Manager said: “As a certified medical manufacturer, we are responsible for the quality control of all implants and must make sure that stringent regulations are met. Dimensional control is crucial. Our previous production partners mainly used a CMM with a touch probe to take various point measurements of the outer implant geometry as well as the whole inner connection.

“In contrast, our new in-house production line relies on an automated Nikon Metrology XT H225ST CT system to control quality more comprehensively through 100 percent inspection.”
One of the main issues with the previous metrology method was the lower accuracy measurement, especially small inner geometries such as deep holes and internal threads. Moreover, measurements were often limited to points and 2D paths, as more detailed measurements were very time-consuming.
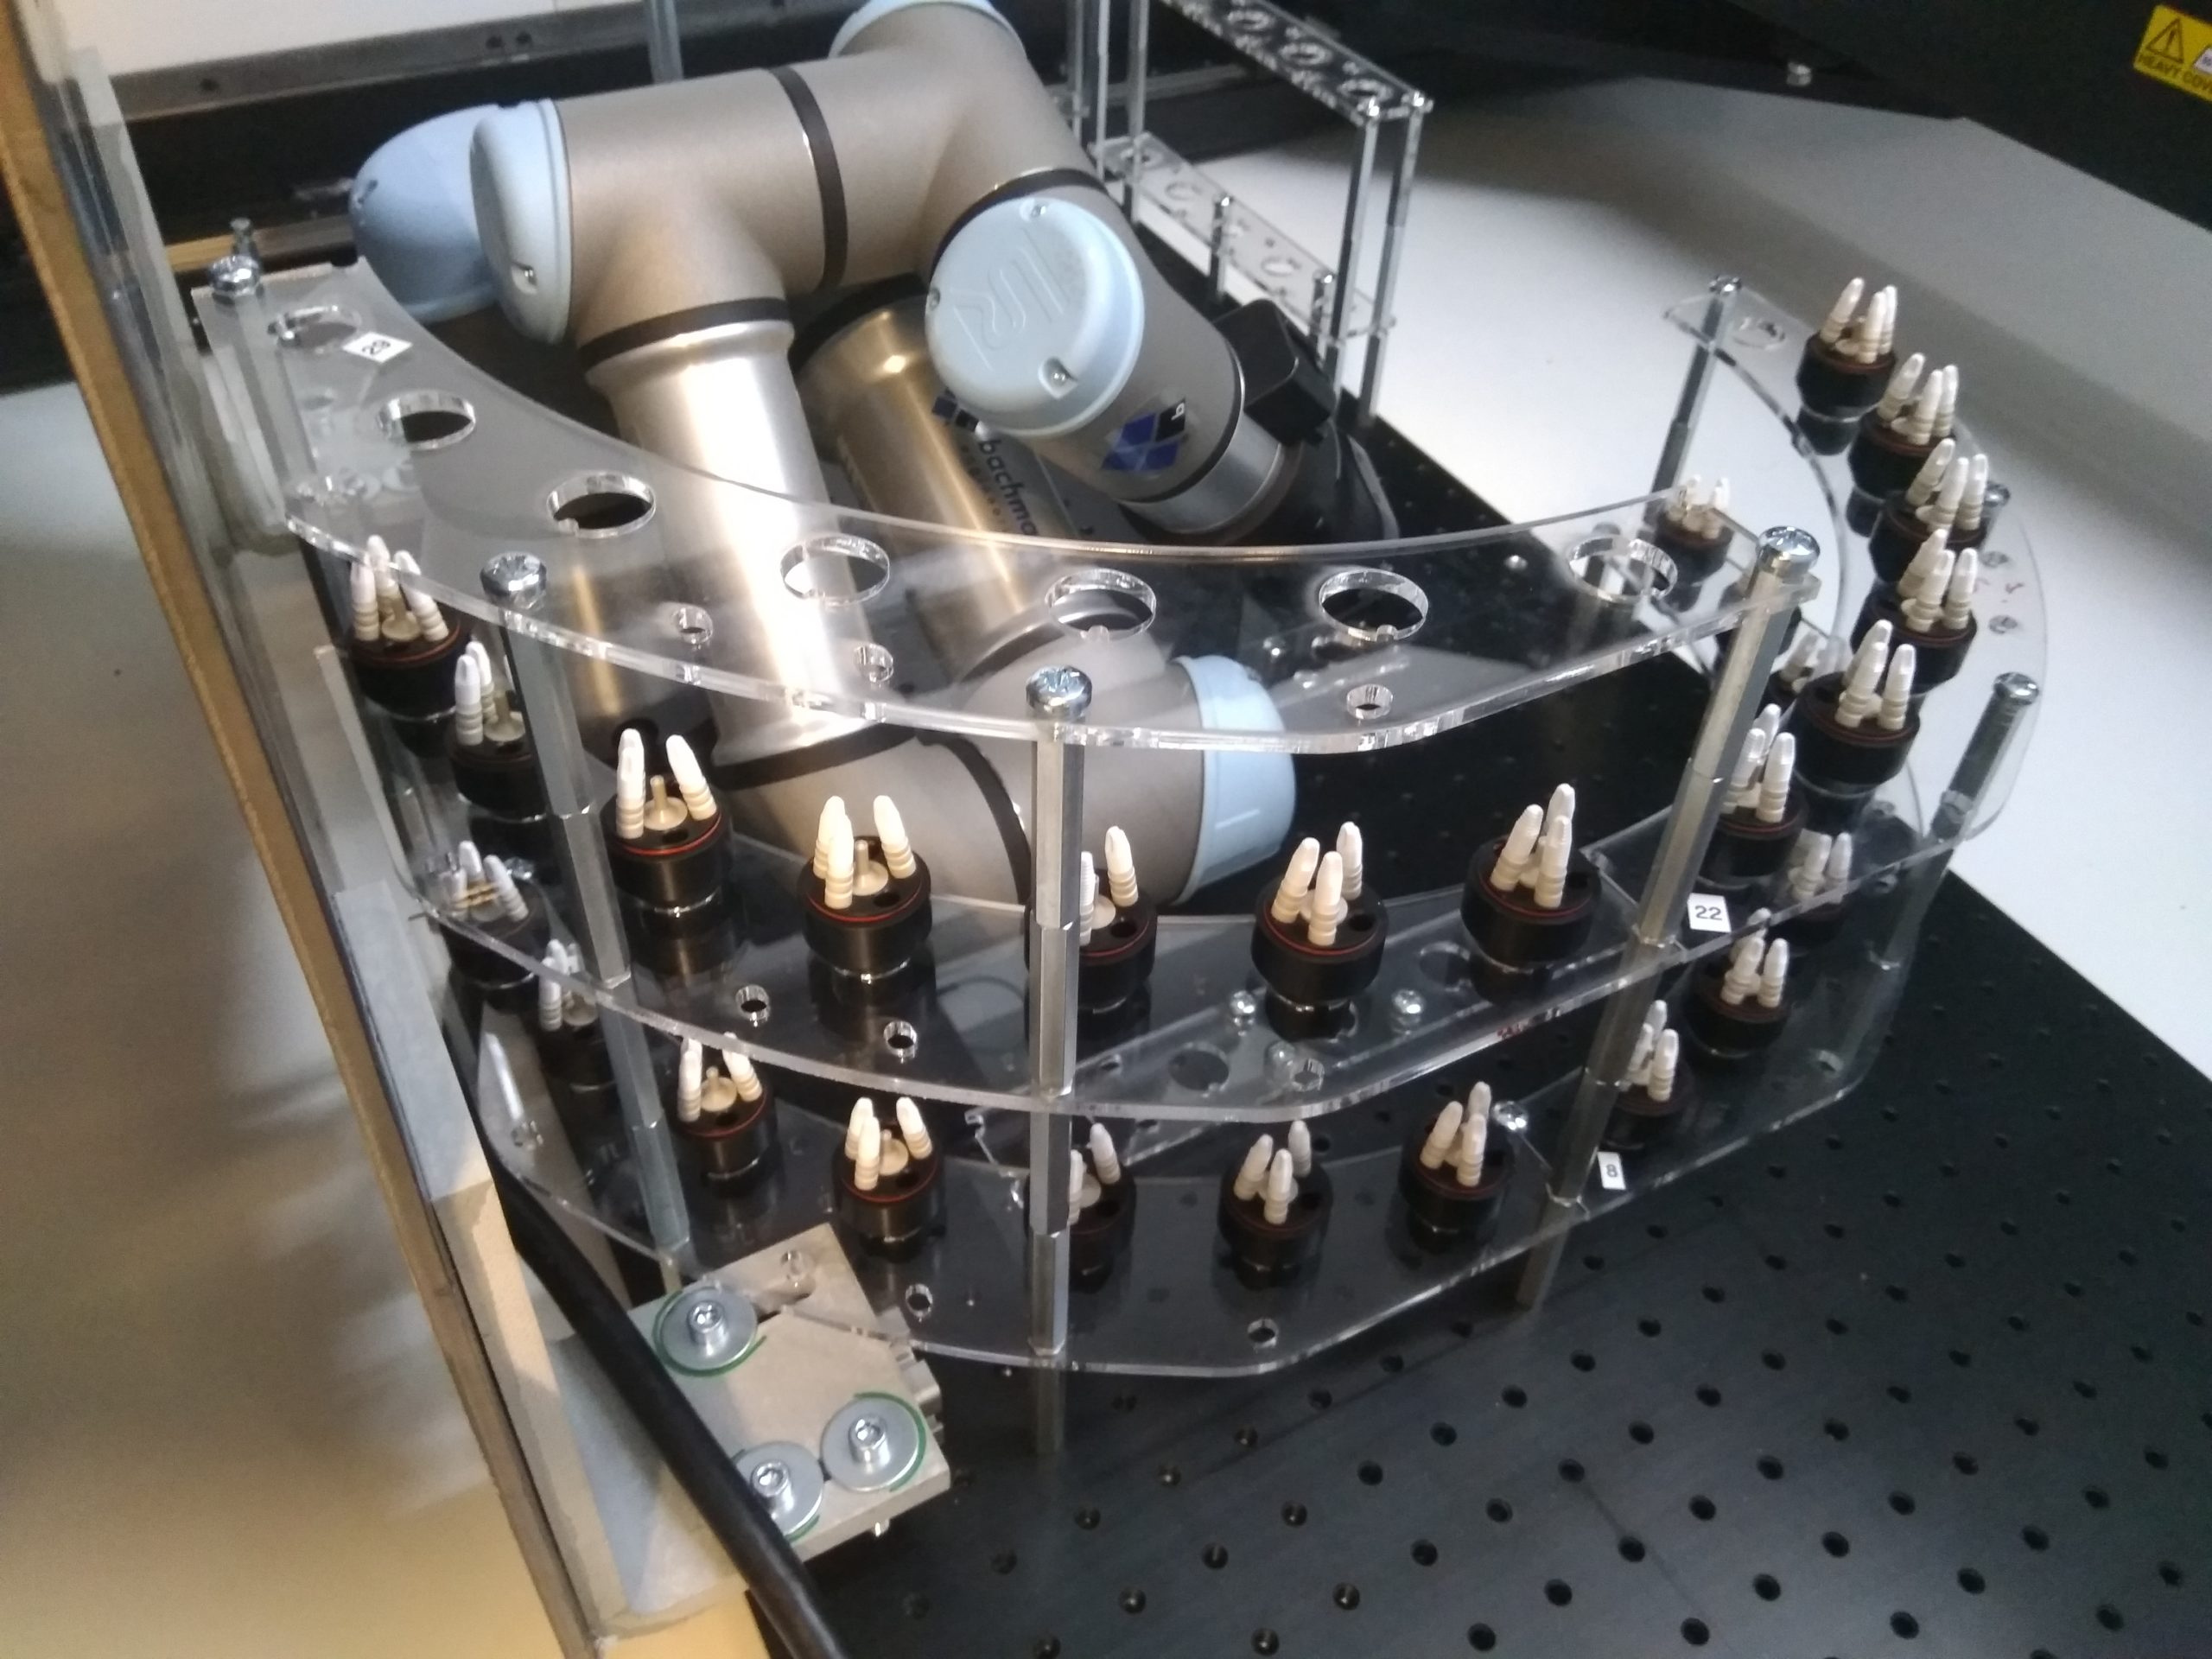
The latter restriction was one of the most important reasons for investing in the new CT equipment, according to Mr Bernet. The measuring cycle involves the cobot sequentially picking up multiple implants mounted in a plastic (PEEK) holder and transferring them onto the manipulator. After scanning is complete, the components are returned to the rack from where they came. The CT machine runs almost 24/7, typically measuring up to 500 implants in 24 hours with full traceability of results.
Only one clamping is required for CT scanning, unlike with the previous CMM inspection, and all parts are held in identical fixtures that are repeatedly reused. During subsequent analysis of the scan data, the PEEK vanishes due to the large difference between its density and hence linear attenuation coefficient compared with those of ceramic.
A further advantage of the CT measuring cell is its low operating cost due to automated loading using the cobot and the concurrent, fully independent reconstruction of the previous X-ray data, registration, fitting and reporting.
 Since the process is stable and the CT runs as expected, there is no need for service, maintenance or support. The cell and its software can be configured with scan profiles for simplicity of use. Final reports are easy to interpret and the data can be handled with little effort with part-to-CAD comparison available for detecting tolerance errors and geometric anomalies.
The acquired metrology data is used to support the mandatory requirements concerning lot traceability of measurements and also by production line operators to set up manufacturing parameters to maintain high product quality. The ability of CT to investigate the interior volume of parts non-destructively means that further analysis could be carried out in the future using.
The final implementation of the process workflow is highly stable and functional. The full 3D data is used to measure features in detail and is stored for traceability. High accuracy is achieved by calibrating the device to a specific scan position, leading to very small measurement errors below one micron when tested on a reference sphere. The installation was efficient and the training, service and helpline are very professional and helpful. In particular, we received great support from Nikon Metrology’s application engineers in developing the process.”

